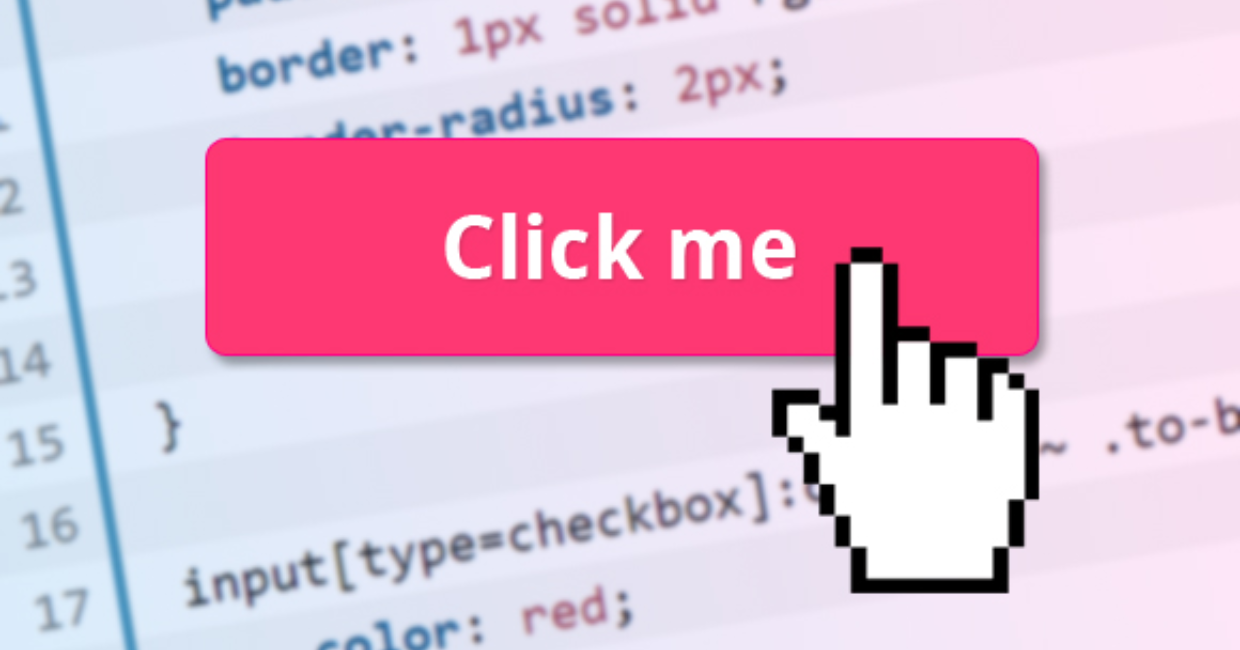
React is one of the most popular JavaScript libraries for building user interfaces. It provides an efficient and declarative way to create dynamic web applications. One of the fundamental concepts in React is event handling, specifically handling click events. Click events allow users to interact with web applications, making them an essential aspect of any React project.
In this article, we will explore how to handle click events in React, from the basics to advanced techniques. We will cover the following topics:
React Component Lifecycle Methods Explained
- Understanding Events in React
- Handling Click Events with Inline Functions
- Using Event Handlers in Class Components
- Handling Click Events in Functional Components with Hooks
- Passing Parameters in Click Event Handlers
- Using Synthetic Events in React
- Preventing Default Behavior in Click Events
- Handling Click Events with Conditional Logic
- Implementing Event Delegation in React
- Best Practices for Handling Click Events
Let’s dive into the details of each section.
1. Understanding Events in React
React follows a synthetic event system that wraps around the native browser events. These synthetic events provide a consistent behavior across different browsers, ensuring that event handling remains uniform. React’s event handling system is similar to the traditional DOM event handling, but with some optimizations.
For example, a simple click event in JavaScript looks like this:
document.getElementById("myButton").addEventListener("click", function() {
    console.log("Button clicked!");
});
However, in React, event handling is done using JSX syntax:
<button onClick={() => console.log("Button clicked!")}>Click Me</button>
React’s synthetic event system ensures performance efficiency by using event delegation and a single event listener at the root of the document.
2. Handling Click Events with Inline Functions
The simplest way to handle a click event in React is by using an inline function within the onClick attribute:
function App() {
    return (
        <button onClick={() => console.log("Button clicked!")}>
            Click Me
        </button>
    );
}
This method is useful for simple actions, but it can lead to performance issues when used extensively because a new function is created on each render.
3. Using Event Handlers in Class Components
In class components, event handlers are usually defined as methods inside the component and referenced in the onClick attribute.
import React, { Component } from "react";

class ClickHandler extends Component {
    handleClick() {
        console.log("Button clicked!");
    }

    render() {
        return (
            <button onClick={this.handleClick.bind(this)}>
                Click Me
            </button>
        );
    }
}

export default ClickHandler;
Alternatively, you can use arrow functions to avoid binding:
class ClickHandler extends Component {
    handleClick = () => {
        console.log("Button clicked!");
    };

    render() {
        return <button onClick={this.handleClick}>Click Me</button>;
    }
}
4. Handling Click Events in Functional Components with Hooks
With the introduction of React Hooks, functional components have become the preferred way of writing React applications. The useState and useEffect hooks allow functional components to handle events efficiently.
import React, { useState } from "react";

function ClickHandler() {
    const [count, setCount] = useState(0);

    const handleClick = () => {
        setCount(count + 1);
    };

    return (
        <div>
            <button onClick={handleClick}>Click Me</button>
            <p>Button clicked {count} times</p>
        </div>
    );
}

export default ClickHandler;
This approach is recommended for modern React applications due to its simplicity and maintainability.
5. Passing Parameters in Click Event Handlers
Sometimes, you need to pass parameters to the event handler. This can be done using an arrow function or the bind method.
Using an Arrow Function:
<button onClick={() => handleClick(5)}>Click Me</button>
Using the bind Method:
<button onClick={handleClick.bind(this, 5)}>Click Me</button>
Here’s a full example:
function ClickHandler() {
    const handleClick = (value) => {
        console.log(`Button clicked with value: ${value}`);
    };

    return <button onClick={() => handleClick(10)}>Click Me</button>;
}
6. Using Synthetic Events in React
React wraps browser events inside synthetic events to improve performance. The SyntheticEvent object normalizes the event properties across different browsers.
function ClickHandler() {
    const handleClick = (event) => {
        console.log("Event type:", event.type);
    };

    return <button onClick={handleClick}>Click Me</button>;
}
Synthetic events prevent performance issues caused by event listeners attached to multiple DOM nodes.
7. Preventing Default Behavior in Click Events
Sometimes, you need to prevent the default behavior of an element, such as preventing a link from navigating to another page.
function ClickHandler() {
    const handleClick = (event) => {
        event.preventDefault();
        console.log("Link clicked, but navigation prevented.");
    };

    return <a href="https://example.com" onClick={handleClick}>Click Me</a>;
}
8. Handling Click Events with Conditional Logic
Click events can be used to toggle states or control UI logic.
function ClickHandler() {
    const [isVisible, setIsVisible] = useState(true);

    const toggleVisibility = () => {
        setIsVisible(!isVisible);
    };

    return (
        <div>
            <button onClick={toggleVisibility}>
                {isVisible ? "Hide" : "Show"}
            </button>
            {isVisible && <p>This is a toggled paragraph.</p>}
        </div>
    );
}
9. Implementing Event Delegation in React
Event delegation is useful when handling a large number of elements efficiently. Instead of attaching event listeners to each element, you attach a single listener to a parent element.
function ListHandler() {
    const handleClick = (event) => {
        alert(`You clicked on: ${event.target.innerText}`);
    };

    return (
        <ul onClick={handleClick}>
            <li>Item 1</li>
            <li>Item 2</li>
            <li>Item 3</li>
        </ul>
    );
}
10. Best Practices for Handling Click Events
1. Use Arrow Functions Wisely
Explanation:
Using arrow functions directly in JSX (like onClick={() => handleClick()}) creates a new function on every render. This can be fine for small apps, but in performance-critical applications (or if the component re-renders often), this can lead to unnecessary re-renders of child components or wasted memory.
Bad:<button onClick={() => handleClick()}>Click Me</button>
Better:const handleClick = () => { // logic }; <button onClick={handleClick}>Click Me</button>
Why?
This prevents the creation of a new function each time the component renders, making it easier for React to optimize re-renders, especially when props are passed to child components that use React.memo.
2. Bind Methods in Constructor (Class Components)
Explanation:
In class components, event handler methods lose their context (this) when passed around. Binding them in the constructor ensures they maintain the correct context and are not re-bound on every render.
Bad:<button onClick={this.handleClick.bind(this)}>Click Me</button>
Better:constructor(props) { super(props); this.handleClick = this.handleClick.bind(this); }
Why?
Binding in the render method (or inline) creates a new function every time the component renders, causing performance issues. Binding once in the constructor is more efficient.
3. Use useCallback for Performance Optimization
Explanation:
In functional components, event handlers are recreated on every render. Using useCallback memoizes the function, preventing unnecessary re-renders of child components that depend on the function as a prop.
Example:const handleClick = useCallback(() => { // logic here }, [dependencies]); // add only what's necessary <button onClick={handleClick}>Click Me</button>
Why?
Memoizing the callback helps maintain referential equality across renders, which is especially helpful when passing callbacks to deeply nested or memoized child components.
4. Avoid Unnecessary State Updates
Explanation:
Only update state when it’s actually needed. Unnecessary updates trigger re-renders, which can degrade performance.
Bad:setCount(count); // sets same value, causes re-render
Better:if (newCount !== count) { setCount(newCount); }
Why?
React re-renders the component even if the state value hasn’t changed unless you explicitly check and prevent it.
5. Use Event Delegation
Explanation:
Instead of attaching event listeners to many child elements, attach a single listener to their common parent and determine the target within the handler.
Example:<div onClick={handleParentClick}> <button data-id="1">Button 1</button> <button data-id="2">Button 2</button> </div>const handleParentClick = (e) => { const id = e.target.dataset.id; if (id) { console.log(`Clicked button with id: ${id}`); } };
Why?
Attaching many individual listeners increases memory usage and can slow down the app. Event delegation simplifies event management and improves performance.
Let me know if you want code samples converted to class components or a full example combining all of these!
Conclusion
Handling click events in React is a fundamental skill for any React developer. Whether using class components or functional components, React provides a flexible and efficient way to manage user interactions. By understanding synthetic events, event delegation, and best practices, developers can write clean, maintainable, and performance-optimized React applications.
By implementing these techniques, you can build highly interactive and dynamic web applications efficiently. Keep experimenting with different approaches to find the best way to handle click events in your React projects.